DIY pressed-flower candles for a relaxing start to 2026
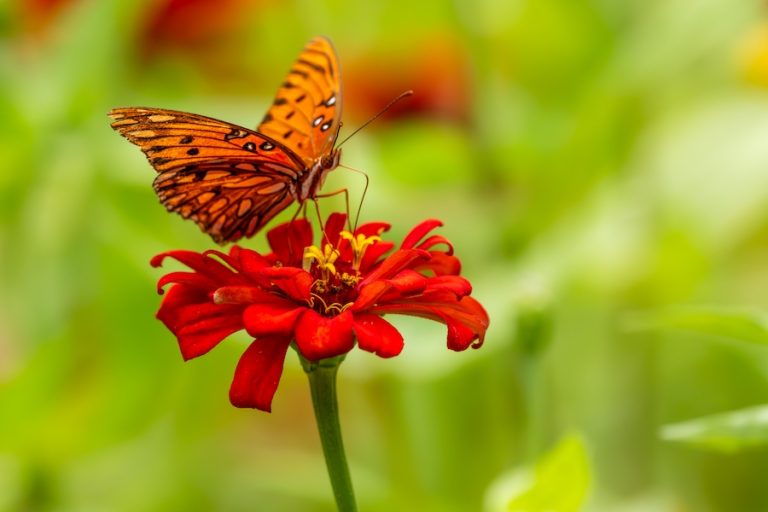
Pressed flowers add a gentle, garden-inspired touch to cold-weather evenings.
Story + Photos by Chrissy Mozeleski, owner of Helena Hills Farm, a U-pick flower farm in Hardeeville known for its seasonal blooms and creative floral workshops.
As winter settles in, the farm slows down. The flowers rest, the air turns crisp, and cozy evenings call for a little extra light. This simple craft brings that glow indoors. Pressed-flower candles combine nature’s beauty with the warmth of a flickering flame to create the perfect setting for peaceful reflection. They also make a handmade gift that feels thoughtful and heartfelt. Each candle becomes a tiny piece of preserved garden magic that glows softly through the season.

Pressed blooms, soft brushes and a simple pillar candle come together in a calm, creative moment. This step is where the magic happens, as each flower is carefully placed before being sealed into the wax.
Step 1: Gather supplies
You will need:
- Plain white pillar candles (soy or beeswax work best). Choose candles with smooth sides so your flowers adhere easily and evenly.
- Pressed flowers, leaves and greenery
- Mod Podge and a small paintbrush
- Parchment paper
- A heat tool or hair dryer
- Optional: ribbon or twine for decoration
Step 2: Press or dry flowers
If you do not already have pressed blooms, this is the perfect time to start. Collect small, flat flowers such as violas, cosmos, vinca, ferns or petals from your holiday bouquet. Press them using a flower press, or place them between layers of cardboard, white cotton fabric and felt. Stack heavy books on top, and let them sit for one to two weeks until they are fully dry and flat. The more variety you press now, the more creative freedom you will have later.
Step 3: Arrange your design
Decide how you want your candle to look. A natural and organic style works beautifully. Use a light coat of Mod Podge to place your flowers and greenery on the candle’s surface. Small petals add delicate detail, and larger blooms should be used with intention so they do not overwhelm the design. Think of it as building a tiny winter garden on wax. Keep the arrangement soft and simple.
Step 4: Set the flowers
Place a piece of parchment paper over your design, and gently warm it with a heat tool or a hair dryer on low. As the wax softens, the flowers will settle into the surface and adhere securely. Move the heat slowly and evenly to avoid melting too much of the candle. Once the candle cools, peel back the parchment to reveal a smooth and seamless design.
Step 5: Add the finishing touch
Tie a ribbon or velvet bow around the base for a soft winter finish. Try colors such as sage, blush, cream or ivory to complement the natural tones of your flowers. Display your candle on a tray, beside a stack of books or near a window where it can reflect light and bring warmth to your space. Each candle is unique and serves as a glowing reminder of the garden’s beauty, even in winter.