

How To: Make your own butter
Butter has been a kitchen staple for centuries, but lately it feels more like a luxury item. If the rising price of a stick has you wondering whether it’s worth making your own, the answer is yes. Not only is it surprisingly easy, it’s also fun, customizable and just a little bit magical. With nothing more than cream, salt and a good shake (or a mixer if you’d rather save your arm), you can create butter that’s richer than anything from the store.The practice goes way back. Early civilizations figured out that when you agitate cream, the fat separates from the liquid and, voilà, there’s butter. In colonial America, families churned it by hand and shaped it in carved wooden presses, often with decorative patterns. You can still see these tools, alongside vintage churns, on display at the Culinary Institute of the South’s Foodseum in Bluffton. They’re reminders of how much artistry once went into something as everyday as spreading butter on bread.Today, the process takes minutes instead of hours, but it still connects you to that sense of tradition. And once you’ve made the plain version, you can stir in herbs, spices, citrus zest or honey to create flavored butters that dress up a humble biscuit.
Homemade Butter
INGREDIENTS
2 cups heavy cream (avoid ultra-pasteurized)
Pinch of salt
DIRECTIONS
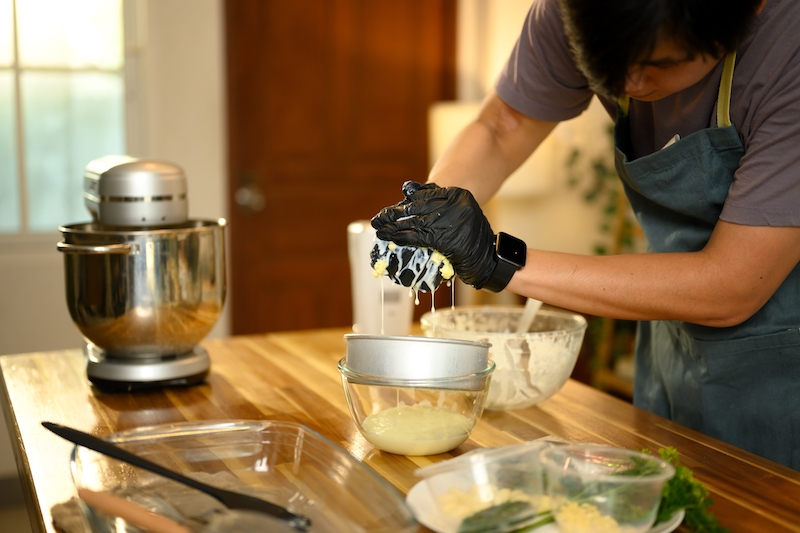
[1] Pour the cream into a stand mixer, food processor or a jar with a tight-fitting lid. Add salt. [2] Whip or shake vigorously until the cream thickens, then separates into butter and buttermilk (about 5-10 minutes with a mixer, a bit longer by hand). [3] Strain the solids through cheesecloth or a fine sieve. [4] Knead the butter under cold water until the liquid runs clear. This step helps it last longer. [5] Pat dry, salt to taste. Store in the refrigerator for up to 1-2 weeks.Pro tip: Don’t toss the buttermilk. It’s perfect for pancakes, biscuits or marinades.
Add some flair
Savory: Garlic with thyme or rosemary.
Bright: Lemon zest with a drizzle of local honey.
Spicy: Crushed red pepper or smoked paprika.
Sweet: Cinnamon, vanilla bean or maple syrup.
Shape to impress
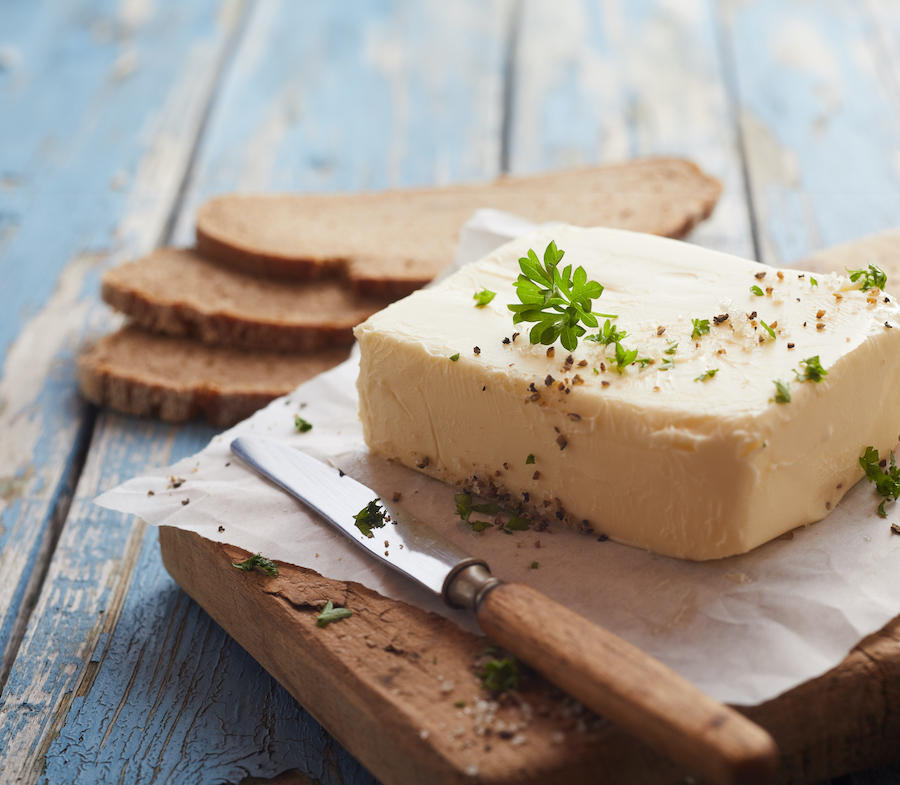
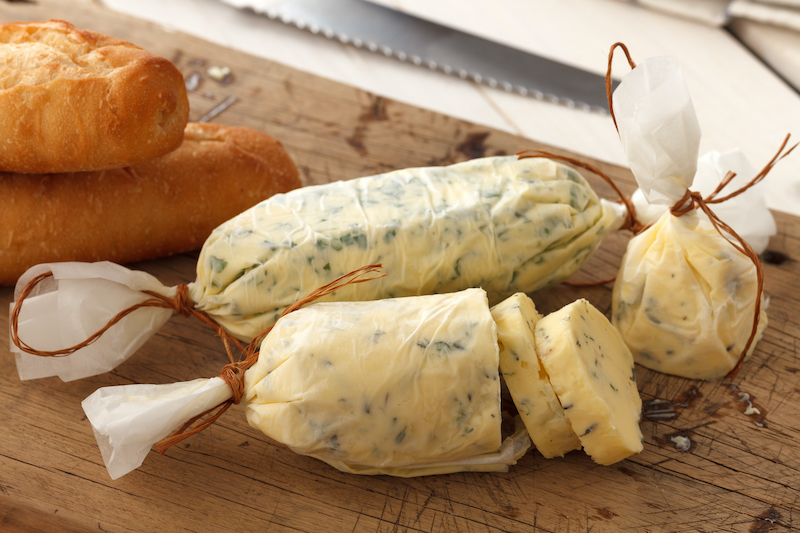
Shape your butter into logs using parchment paper, or press it into a butter mold for a decorative touch. If you stumble across a vintage press at one of our local antique shops, soak it in cold water first to prevent sticking. Then pack it with butter, level the top, and ease it out for a nostalgic finish worthy of your table.
Churn back time
On display at the Culinary Institute of the South’s Foodseum in Bluffton are vintage butter churns and a wooden butter press, reminders of the days when making butter was a daily ritual rather than a quick stop at the store. The tall, barrel-shaped churns were worked by hand with a dasher moving up and down to agitate the cream until it separated into butter and buttermilk. Once the butter was washed and salted, it was packed into a press like the square wooden one shown above. The press not only shaped the butter into neat blocks but often stamped it with decorative patterns, turning a simple kitchen staple into something practical and beautiful.


